Thursday, April 29, 2010
Monday, April 26, 2010
Animation Packacke update
Here is the link to the update
In order to avoid making everyone re-download the 111 mb file. I have simple posted a 15 mb update. To install the update follow the instructions.
Instructions:
1. If you haven't downloaded the animation package already do so.
2. unzip the packageUpdate file and copy and paste the scene file into the 'scenes' folder inside the original animation package. It might be named the same thing so it could override the original file. I strongly suggest you rename one of the files and keep both of them just in case.
3. copy and paste the "iPhoneColor.jpg" into the "source images" folder in your original animation package
Wednesday, April 21, 2010
Sunday, April 18, 2010
Scene Ready to Animate

The package is ready for animation
** check for your shot number that your animating in FaceAnimations folder to see if there is a facial animation to go with it. If there is nothing for your shot then check the animatic and use an appropriate single frame from one of the sequences.
** when adding the image sequence to the screen follow these directions
- the iPhone and the Kindle have multiple shaders so make sure you select the right one. (use the attribute editor)
- iPhone: make sure you select the iPhoneScreenLambert and load in the sequence
- Computer: select the grey plane on the computer screen (probably the only one you can select) and load the sequence
- Kindle: make sure you select the KindleScreenLambert and load the sequence to that
- click the box next to the color in the lambert. Click the folder image next to the blank box next to "image name". Select the first image in the sequence and click open. Then check the "use image sequence" box underneath the "image name" field. The sequence should appear on the respective screen, and when you move the timeline the sequence should play
Here is the link to the animation package
(link is now working)
Sunday, April 4, 2010
April 5th Update


Sunday, March 28, 2010
Tuesday, March 23, 2010


Friday, March 5, 2010
Tuesday, February 23, 2010
Rigging PDF
Here is a link to my finished rigging assignments from the in Class PDF
Reverse foot:

No Flip Knee:

Ik to FK:

Reverse foot:

No Flip Knee:

Ik to FK:


Sunday, February 14, 2010


Wednesday, February 10, 2010
Enemy of My Enemy team
Hey if everyone who signed up for the "enemy of my enemy" team today could post their email addresses on their blog, I'm going to send out an email later tonight or tomorrow about either getting together or doing a chatroom about ideas and ironing out some stuff.
Thanks,
mine is ajb6954@uncw.edu
Thanks,
mine is ajb6954@uncw.edu
Sunday, February 7, 2010


Wednesday, January 27, 2010
Homework 2
Here is homework 2
Soccer Ball Bounce
rendered with mental ray, final gather
Bowling Ball Bounce
Rendered with mentalray, global illumination
Ping Pong Ball Bounce
Rendered with mentalray, final gather
Soccer Ball Bounce
rendered with mental ray, final gather
Soccer Ball Animation from Alex B on Vimeo.
Bowling Ball Bounce
Rendered with mentalray, global illumination
Bowling Ball Animation from Alex B on Vimeo.
Ping Pong Ball Bounce
Rendered with mentalray, final gather
Ping Pong Ball Bouncing from Alex B on Vimeo.
Sunday, January 24, 2010
Story Packet
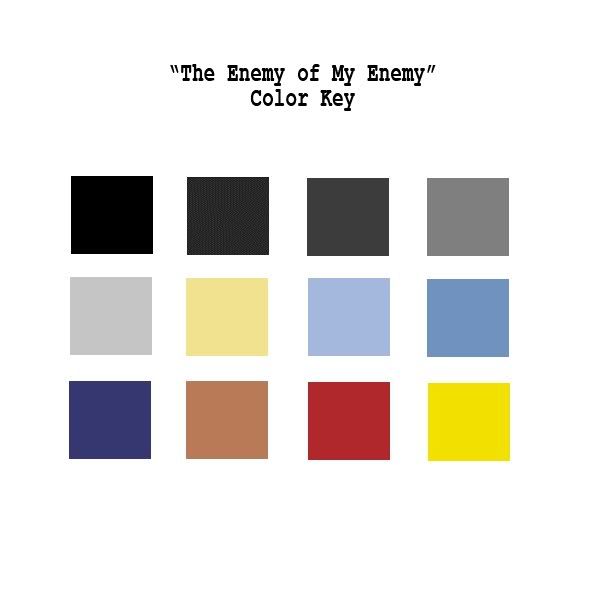
I created a story called "The Enemy of My Enemy"
UPDATE: Here is a link to mediafire to download my story packet in a zip: Click here
Below are several links all the materials that made up the pre-visualization
Here are the links to my Story Boards:
Link1 Link2 Link3
Link4 Link5 Link6
Link7 Link8 Link9
Link10 Link11 Link12
Link13 Link14 Link15
Link16
This link will take you to my script: Click here
This link will take you to the Treatment and Premise: Click here
This Link will take you to the Color Key: Click here
Tuesday, January 12, 2010
3D Ball Bouncing
Here is the 3D ball bouncing made with Maya.
Again the video file was too small for vimeo so I had to upload it with youtube.
For this project I simply used a polygon sphere, plane, and nurbs sphere(for the background dome)
I applied a little color and keyed the scale and the position to move the ball up and down. I also adjusted the y position curve in the graph editor for a more realistic ball movement.
I batch rendered with mental ray and compiled the images and added a title in ToonBoom.
2D Ball Bounce
Here is my 2D Ball Bounce made with ToonBoom.
Vimeo said the video file was too small so I had to upload it with YouTube.
For this I used ToonBoom and drew a ball and a line for the ground. I copied and pasted the ball and ground into 48ish frames and moved the ball for each frame and smashed it when it hit the ground. There might be a more effective way of keyframing the movement but I didn't know how so I did it the old school way.
Subscribe to:
Comments (Atom)